Video has been removed from this PDF. Visit the BrightWork 365 knowledge base to view.
- This article is for BrightWork 365 Release February 2023 (v1.6) and newer.
- The System Customizer or System Administrator security role is required in the relevant environment to edit choices.
- If you currently have a custom solution, and a flow or piece of code uses values in a choice field (as opposed to the choices just being used for display or categorization) in that solution, then the recommendation for that specific choice field is to customize it using a custom solution rather than the alternative method described here.
Only the following fields (as well as any custom choices you may have added) should be edited with the method described in this article - these are the only choices you should edit with this method: Account Type, Action Type, Cost Category, Cost Type, Item Type (Issue Type), Project Type, Support Project Type.
Introduction
When appropriate (see the notes above), editing choices in a managed solution at the environment level is an easier and less time-consuming process than doing so through the unmanaged solution customization process. This simpler process is possible for the global choices listed above. Specifically, customers can:
- Add choice values
- Edit existing choice values (this propagates to all records with the previous value)
- Delete choice values (this will cause issues if there are any business rules or code referencing the choice)
- Change choice colors
- Reorder choices
- It is not recommended to change choice numbers
Editing Choices
- Login to https://make.powerapps.com and select the BrightWork 365 environment from the environment switcher in the top-right.
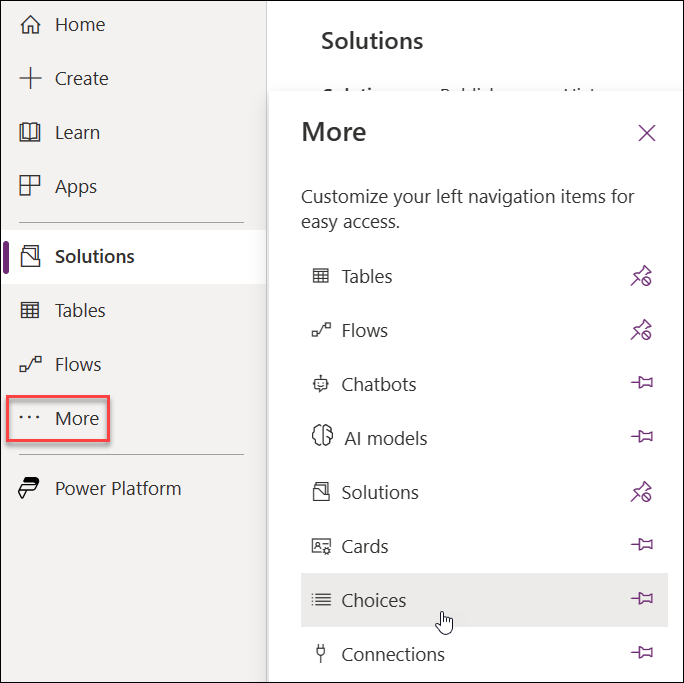
- Click More > Choices on the nav.
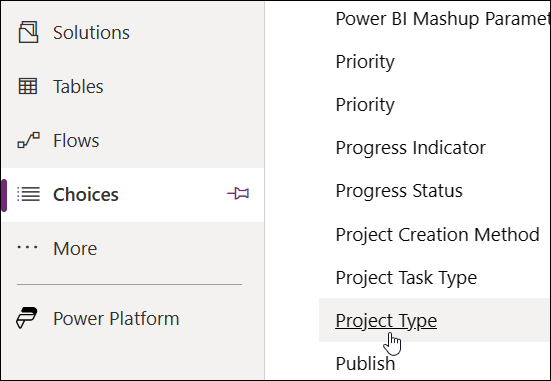
- Click one of the eligible choices listed in the Caution note above.
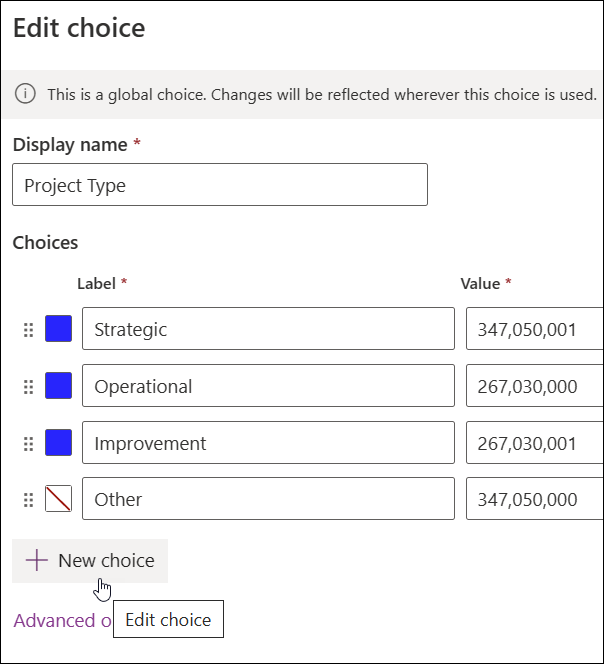
- Make your desired changes. For example, you can add a new choice value or edit the label of an existing value and arrange the vertical order of the fields as necessary; do not make any changes to the entries in the Value field.
- Click Save.


