Introduction
- To customize BrightWork 365 Power BI reports, the user will need Read access to the tables that they want to report on - BrightWork Project Manager would suffice in most cases. If there are custom tables they want to report on, they also need a security role that gives them Read access to these tables.
- For BrightWork 365 release 2024-2 and later, if your organization has implemented security, the user in question will only be able to report on the records to which they have access. If they publish the report, it will use their level of access for what it displays.
- Customization of Power BI reports requires a Microsoft Power BI Pro license or an E5/G5 plan (which includes Power BI), and installation of the Microsoft Power BI Desktop application.
If customizations are made to the out of the box Power BI report, when BrightWork releases upgrades that include an updated Power BI report, you will need to either keep your own customized report, or use the report included in the upgrade and then apply your own customizations to it. We recommend creating a separate Power BI report for customizations (with an optional custom link, e.g., in the app's Site Map) rather than editing the out of the box Power BI report. You can save a copy of the out of the box Power BI report and work in that copy. Contact your Customer Success Partner for additional information related to your specific implementation.
To access BrightWork 365 Power BI reports, click into the Reports area on the Main Nav.
See our Product Installation article for initial Power BI set up instructions.
For additional Power BI information see these Microsoft resources:
- https://docs.microsoft.com/en-us/power-bi/
- https://docs.microsoft.com/en-us/learn/powerplatform/power-bi?WT.mc_id=powerbi_landingpage-docs-link
Add a Column to a Custom Power BI Report
- In the Power BI Desktop application load your Power BI PBIX file, and ensure the latest data is refreshed.
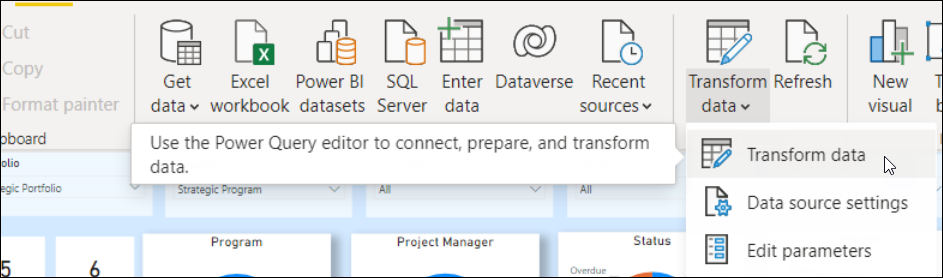
- Choose Transform Data in the ribbon to launch the Power Query Editor.
- Select the table name in the Queries section.
- In Applied Steps, click on Removed Other Columns and click its Settings gear.
- Select the desired column and click OK.
- If necessary to rename the column, in Applied Steps click Renamed Columns, double-click on the column in the table header, rename it, and choose to insert a step when asked.
- Choose Close & Apply in the ribbon to close the Power Query Editor and return to Power BI Desktop.
- In Power BI Desktop, click into the area of the report page where you want to add the column.
- Click on the table name in the Fields section.
- Select the new column under the table name in the Fields section to add it to the Visualizations section.
- In the Visualizations section drag the column vertically to place it into the desired location.
- Save the report.
- Publish the report to the relevant Power BI destination.
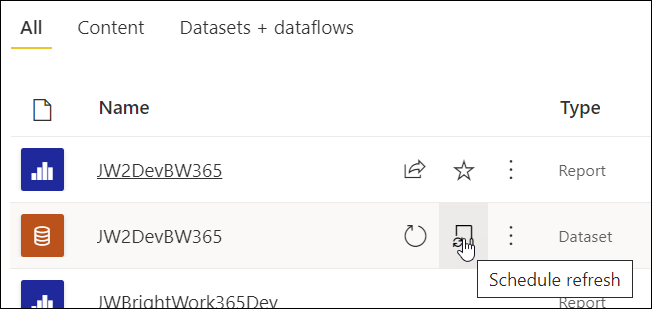
- Launch Power BI Online (app.powerbi.com) and navigate to the relevant workspace.
- If necessary, configure the relevant Dataset's Schedule refresh settings.
- Click on the custom report to launch it.
- Share a link to the report as needed.


Add a Custom Power BI Dashboard Link in the App
See important general customization information in our article Read First: Customization Notes.
In addition to opening custom Power BI reports in a browser tab, you can choose to add a new link to the Dashboards section of the app.

To add a new custom Power BI Report Dashboard link:
- Open your unmanaged solution in make.powerapps.com.
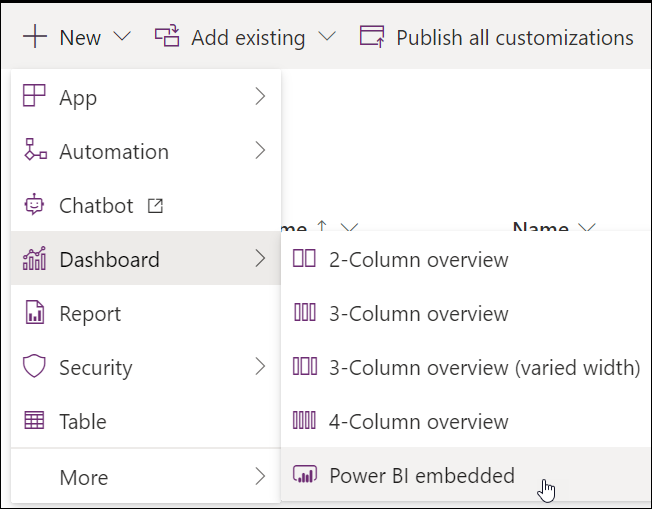
- Click + New > Dashboard > Power BI embedded.
- Enter a Display name.
- Choose Type Power BI report, select the relevant Power BI Workspace and your custom Power BI report.
- Click Save.
- Publish the customization.
- Return to the main customization screen of the unmanaged solution.
- Click Add existing > App > Model-driven app, and add the out of the box BrightWork 365 app.
- Click into the app that is of type Model-Driven App, and click Switch to classic.

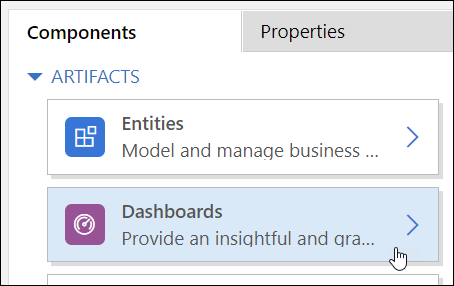
- In the Artifacts section click on Dashboards.
- Scroll down the Classic Dashboards list to the Power BI Embedded Dashboards section and select your custom dashboard.
- Save and Publish.
- Back on the main (non-Classic) design screen scroll down to the Dashboards section, click the ellipses for your new custom Dashboard and choose Edit.
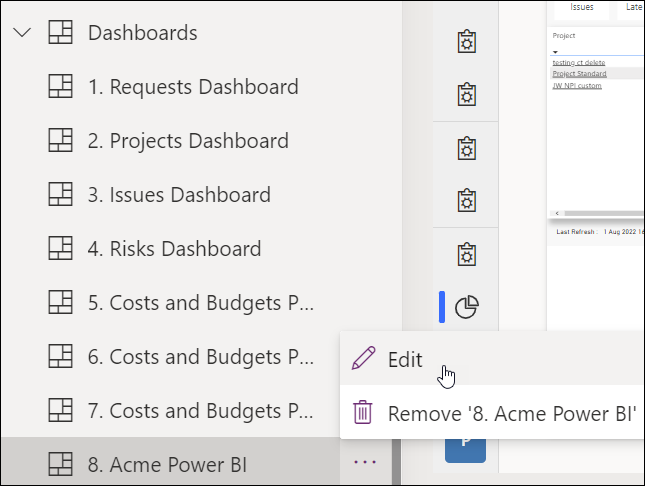
- Change the name of the dashboard to include a prefix number that will place it in the proper vertical order in the app's Dashboard drop-down list, e.g., "8. Acme Power BI" or "08. Acme Power BI".
- Save and close the edit screen.
- Publish the customization.


