Project Management Introduction
If you have an older custom form that is based on an out of the box form that has since been upgraded with new features you would like to utilize, this can be accomplished by either:
- Applying your customizations to the new out of the box form, or
- By applying a new upgrade feature to your own custom form
The best approach to choose will depend on your specific implementation, and this can be determined through discussions with your Customer Success Partner. The content below is related to the former approach, manually applying your customizations to a new out of the box form, e.g., applying customizations from a BrightWork v1.5 Request or Project form to a newer form that contains the new Approvals process for Requests and Projects.
Be sure to first read the Customization Notes article before making any customization changes.
Contact your Customer Success Partner with questions or to discuss obtaining consulting assistance.
Applying Customizations from a BrightWork v1.5 Request or Project Form to a Newer Form
- Customize a new Request Form or Project Form from a copy of the new BrightWork 365 form using the Save as method described in the Customize Forms article.
- Create a new Request Form Template or Project Form Template that references your new custom form.
- In the Templates Area, either create a copy of the new out of the box Request Template or Project Template, or create a new template.
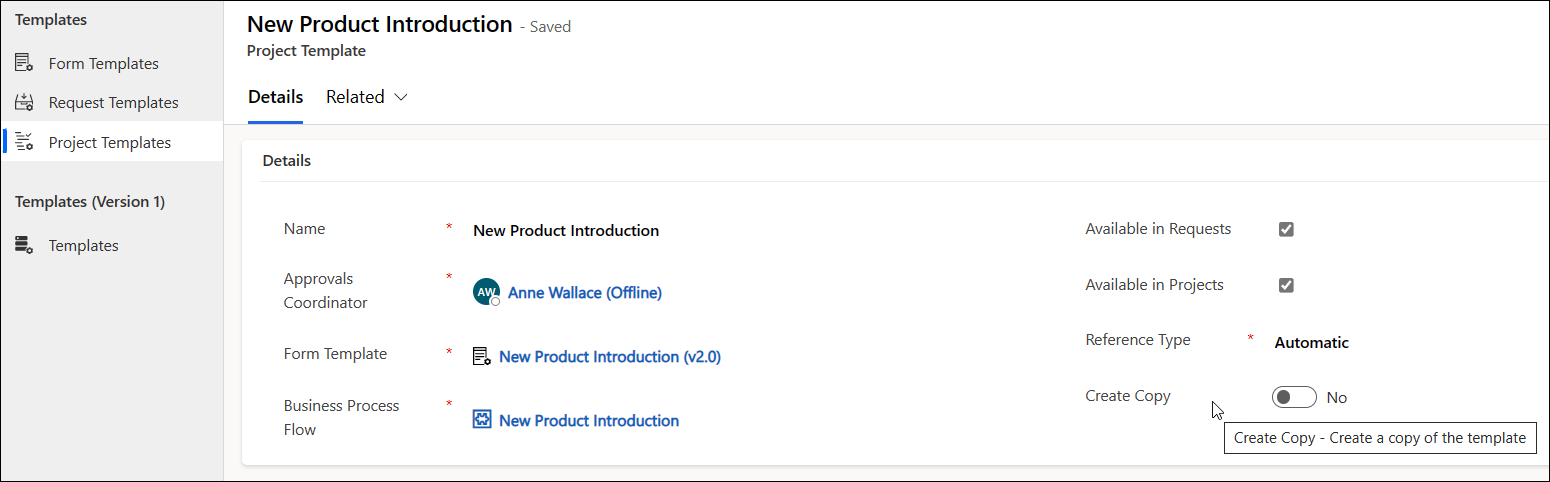
- Edit the Request Template or Project Template you created to point to your custom form, and if applicable, to your custom Business Process Flow.

Switch v1.5 Projects to a Newer Project Template
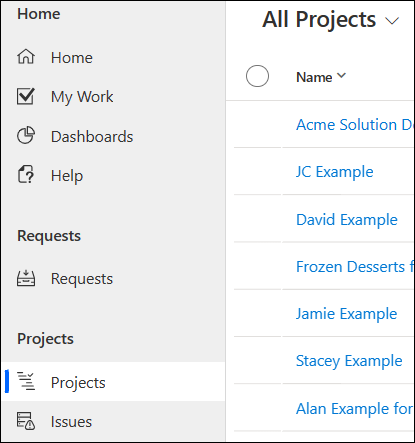
- Click into the Projects Area > Projects > All Projects view.
- Create a new view that contains the columns Template, Project Templates, and Project Template. If you do not see the Project Templates column to select in the view, do not continue with this process and contact your Customer Success Partner for further assistance.
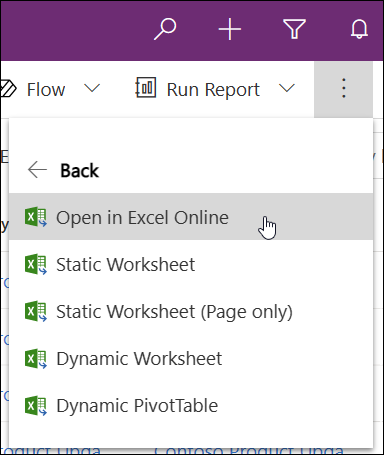
- In the table header click Export to Excel > Open in Excel Online.
- For the projects that should use the upgraded custom project form, remove the values from the Template and Project Templates columns, and in the Project Template column enter the name of your new project template that references your upgraded custom project form.
- Click Save.
- Click Track Progress.
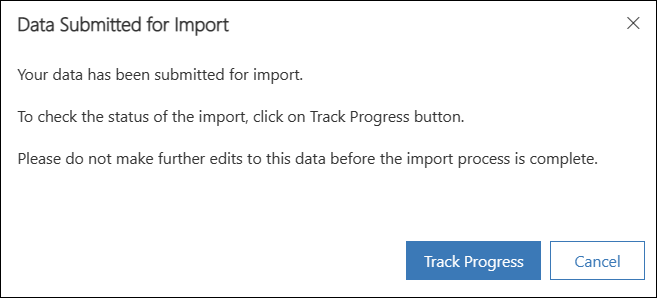
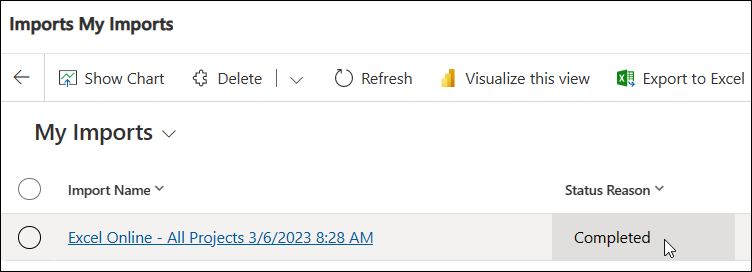
- The import tracking screen will change the Status Reason field to Completed when the import process is done.
- Open the updated projects and test functionality.


