2026-2 & 2026-1
Deleting a row of data from any View cannot be undone.
When grouping is applied in Views, you will need to double-click in the rows to open items.
System Views
The various BrightWork 365 site map sections such as Requests, Projects, and Portfolios, each come with their own set of out of the box system views, in addition to any custom personal or system views you configured on your own. Different views will present a different number of rows of project information depending on view filters, and/or a different set of columns across the top.


Depending on the column type, there are various options for altering how column data is presented:
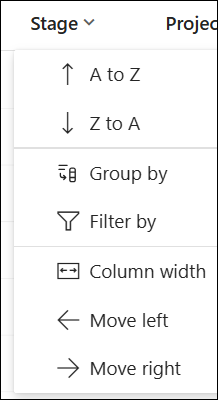
Admin Area > Dynamics Teams
The Dynamics Teams link in the Admin Area of BrightWork 365 consists of system views, mostly filtered on the different team types in BrightWork 365. These views are included by Microsoft Power Platform and are generally not utilized directly by end users of the solution. An entry that is utilized by end users is the "Senior Managers" Dynamics Team, which can be found in the Local Business Owner Teams view of the Dynamics Teams link. This team is used to limit the users that are able to view cost and budget data for portfolios and programs, and to define the users returned in the following lookups:
- Group Manager
- Portfolio Manager
- Portfolio Sponsor
- Program Manager
- Program Sponsor
- (Request) Reviewers
- (Request) Approvers
See User Management for more information about the Senior Managers team.
Introduction
In BrightWork 365, a Personal View is a type of view that a user can create by themselves and customize specifically for their own needs and use within the app. Unlike system views, which are predefined and available to all users, personal views are unique to each individual user, although they can be shared with colleagues if desired.
Configure a Personal View
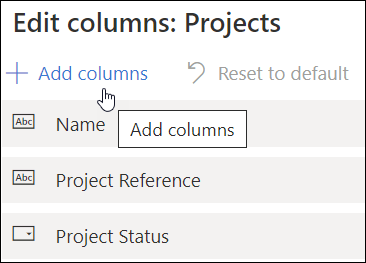
- Within a view in the section of interest (e.g., Requests, Projects, Portfolios), click Edit columns.

- Edit the columns:
- Reorder or remove columns using the ellipses that appears when you hover over an existing column name and click Apply.
Or, - To add new columns to the view: Click Add columns, select the column to add, click Close, reorder the column as necessary, and click Apply.
- Reorder or remove columns using the ellipses that appears when you hover over an existing column name and click Apply.
- If the view is only meant to be temporary, the process is complete. If you would like to permanently save the view as a personal view:
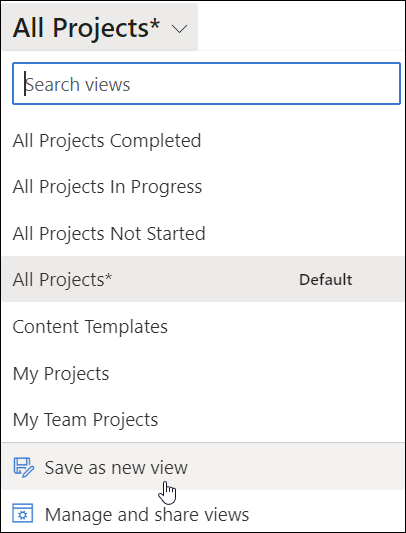
- In the view selector drop-down click Save as new view.
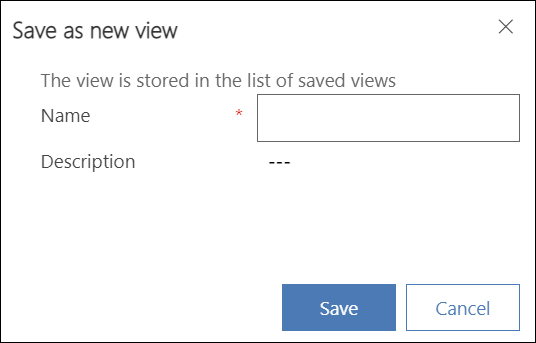
- Fill in the fields and click Save to save the view as a personal view.
- To share a personal view:
- In the view drop-down click Manage and share views.
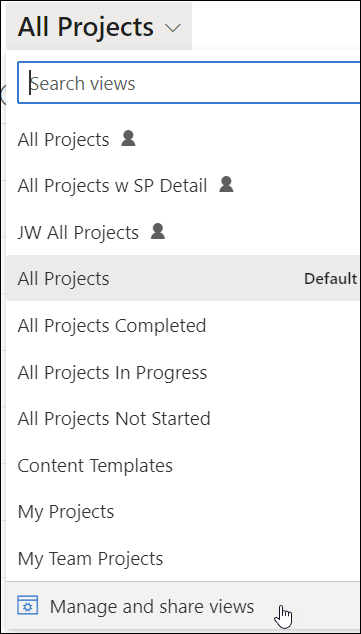
- Click on the ellipses next to the view you want to share and click Share.
- Search for and select the user or team you would like to share the personal view with.
- Assign permissions and click Share.
- In the view drop-down click Manage and share views.
- In the view selector drop-down click Save as new view.


Bulk Updates
It is possible to make bulk updates to certain fields in multiple records using Excel Online.
Do not make edits to calculated columns such as the date column Current Finish.
Open in Excel Online
Click Open in Excel Online from the Excel menu at the top of the screen, make any necessary changes and save the changes.

Item Activation Status
Items can be deactivated and activated throughout BrightWork 365 which will affect their visibility in views. Deactivated records will be locked. Users with edit permission can activate a deactivated record.
To deactivate an item:
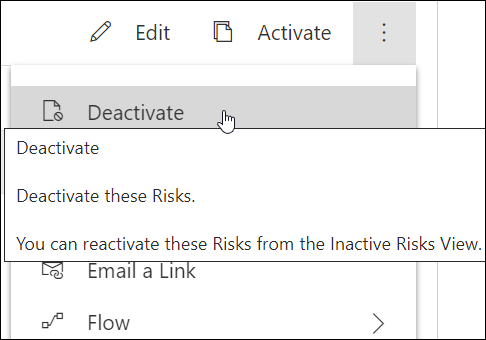
- Select the item row and click Deactivate in the menu.
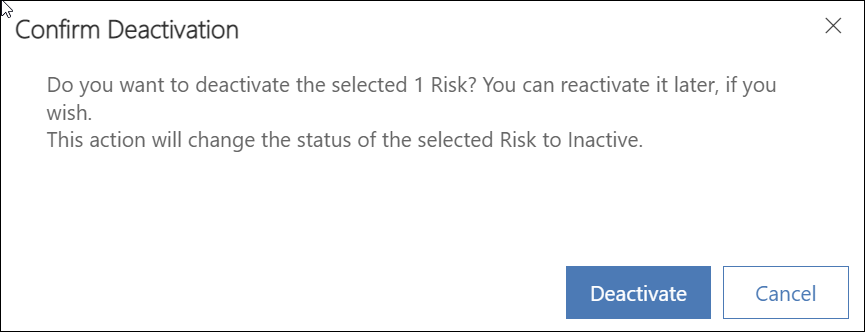
- Confirm the deactivation.


To activate an item:
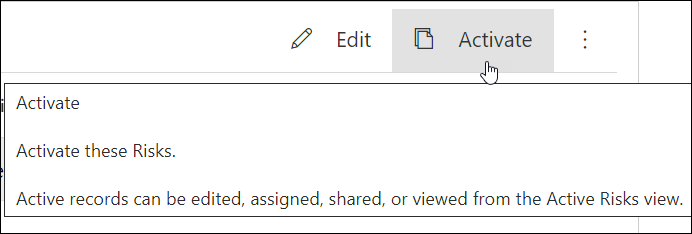
- Select the deactivated item row and click Activate in the menu.

Deactivated items may be removed from certain views. To find these items in order to activate them once again:
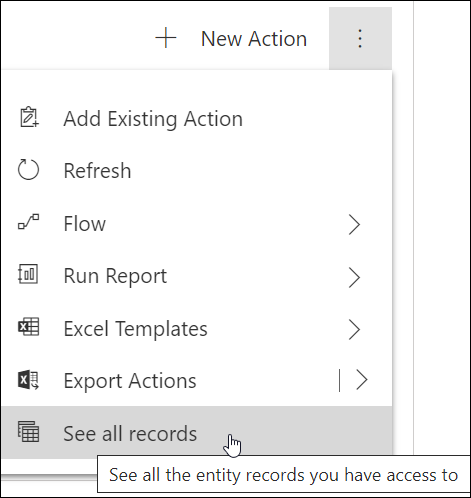
- In the current view click See all records in the menu.
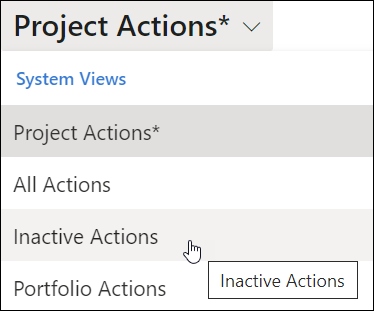
- Change the resultant screen's view to the Inactive view.
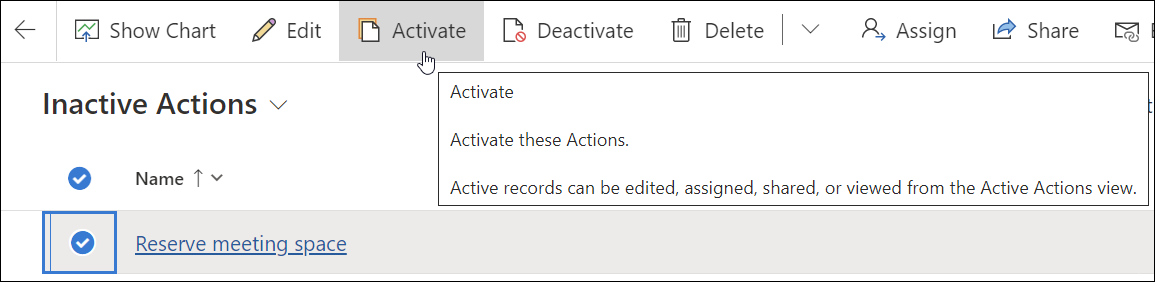
- Select the item's row and click Activate.
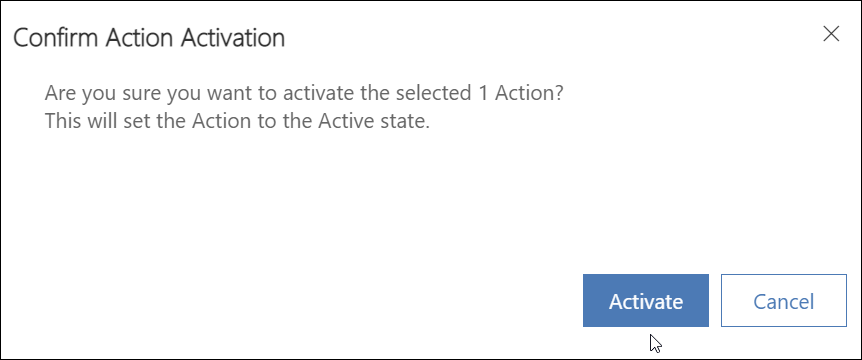
- Confirm the activation.
- Return to the original view.


System Charts
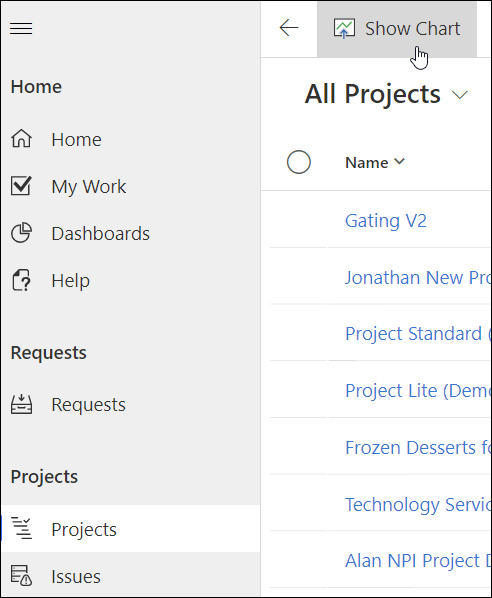
The BrightWork 365 solution comes with a set of system charts accessible from the different Areas. To access the available charts click into a section on the Site Map and then click Show Chart.

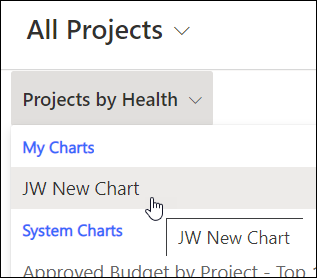
Click on the drop-down arrow to view the available System Chart options.

Configure a Personal Chart
- Click Show Chart at the top of a view's page.
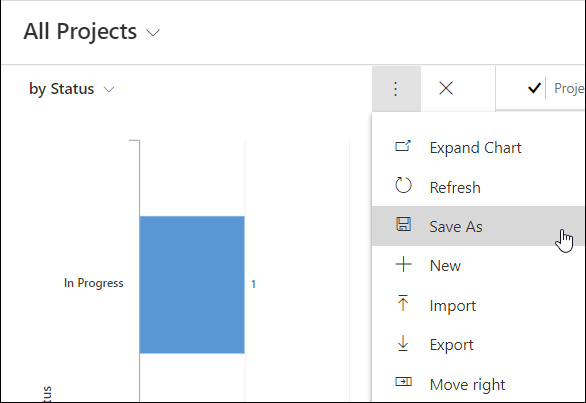
- Click the ellipses next to an existing system chart you would like to use as the basis for your personal chart, choose Save As in the menu, fill in the fields, and click Save.
- If you would like to make changes to your new personal chart, choose Edit in the menu and make necessary changes in the Chart Designer.
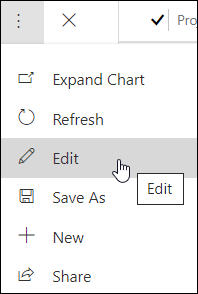
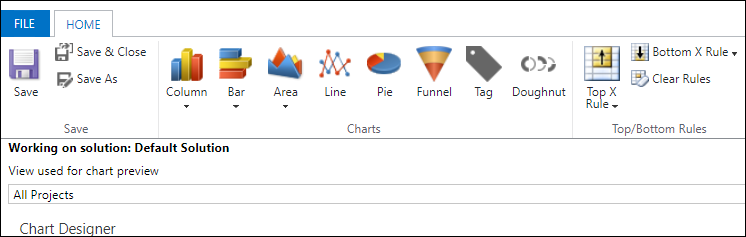
- Save your changes.


Share a Personal Chart
- Select the personal chart in the chart drop-down.
- Click the ellipses next to the personal chart and click Share.
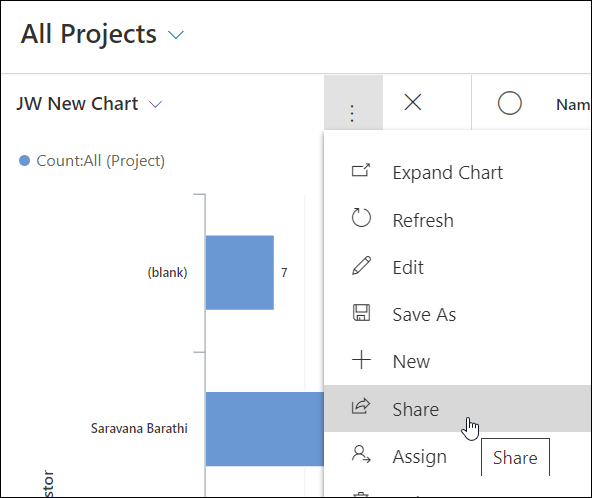
- Add the user or team you would like to share the personal chart with.
- Assign permissions and click Share.


Edit Items in a List View
- Click to the left of the first position column to highlight the row.
- Click Edit at the top of the page.

2025-2
Deleting a row of data from any View cannot be undone.
When grouping is applied in Views, you will need to double-click in the rows to open items.
System Views
The various BrightWork 365 site map sections such as Requests, Projects, and Portfolios, each come with their own set of out of the box system views, in addition to any custom personal or system views you configured on your own. Different views will present a different number of rows of project information depending on view filters, and/or a different set of columns across the top.


Introduction
In BrightWork 365, a Personal View is a type of view that a user can create by themselves and customize specifically for their own needs and use within the app. Unlike system views, which are predefined and available to all users, personal views are unique to each individual user, although they can be shared with colleagues if desired.
Configure a Personal View
- Within a view in the section of interest (e.g., Requests, Projects, Portfolios), click Edit columns.
- Edit the columns:
- Reorder or remove columns using the ellipses that appears when you hover over an existing column name and click Apply.
Or, - To add new columns to the view: Click Add columns, select the column to add, click Close, reorder the column as necessary, and click Apply.
- Reorder or remove columns using the ellipses that appears when you hover over an existing column name and click Apply.
- If the view is only meant to be temporary, the process is complete. If you would like to permanently save the view as a personal view:
- In the view selector drop-down click Save as new view.
- Fill in the fields and click Save to save the view as a personal view.
- To share a personal view:
- In the view drop-down click Manage and share views.
- Click on the ellipses next to the view you want to share and click Share.
- Search for and select the user or team you would like to share the personal view with.
- Assign permissions and click Share.
- In the view drop-down click Manage and share views.
- In the view selector drop-down click Save as new view.
Bulk Updates
It is possible to make bulk updates to certain fields in multiple records using Excel Online.
Do not make edits to calculated columns such as the date column Current Finish.
Open in Excel Online
Click Open in Excel Online from the Excel menu at the top of the screen, make any necessary changes and save the changes.
Item Activation Status
Items can be deactivated and activated throughout BrightWork 365 which will affect their visibility in views. Deactivated records will be locked. Users with edit permission can activate a deactivated record.
To deactivate an item:
- Select the item row and click Deactivate in the menu.
- Confirm the deactivation.
To activate an item:
- Select the deactivated item row and click Activate in the menu.
Deactivated items may be removed from certain views. To find these items in order to activate them once again:
- In the current view click See all records in the menu.
- Change the resultant screen's view to the Inactive view.
- Select the item's row and click Activate.
- Confirm the activation.
- Return to the original view.
System Charts
The BrightWork 365 solution comes with a set of system charts accessible from the different Areas. To access the available charts click into a section on the Site Map and then click Show Chart.
Click on the drop-down arrow to view the available System Chart options.
Configure a Personal Chart
- Click Show Chart at the top of a view's page.
- Click the ellipses next to an existing system chart you would like to use as the basis for your personal chart, choose Save As in the menu, fill in the fields, and click Save.
- If you would like to make changes to your new personal chart, choose Edit in the menu and make necessary changes in the Chart Designer.
- Save your changes.
Share a Personal Chart
- Select the personal chart in the chart drop-down.
- Click the ellipses next to the personal chart and click Share.
- Add the user or team you would like to share the personal chart with.
- Assign permissions and click Share.
Edit Items in a List View
- Click to the left of the first position column to highlight the row.
- Click Edit at the top of the page.
