Introduction
SharePoint has an indexing limit that is reached when a document library contains more than 5000 items. When the limit is reached you will see a message like the one below:

This is not just a limitation of the Power Platform, the classic SharePoint experience also will not display all documents when the library contains more than 5000 items.

You should also be aware that deleting records in the Power Platform does not delete the documents associated with the record in SharePoint.
The simplest solution is to create another document library in SharePoint and selectively move folders from the library with more than 5000 items into it.
Set Up an Archive Document Library and View
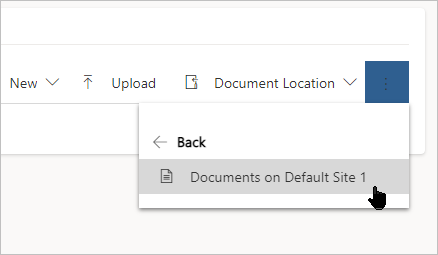
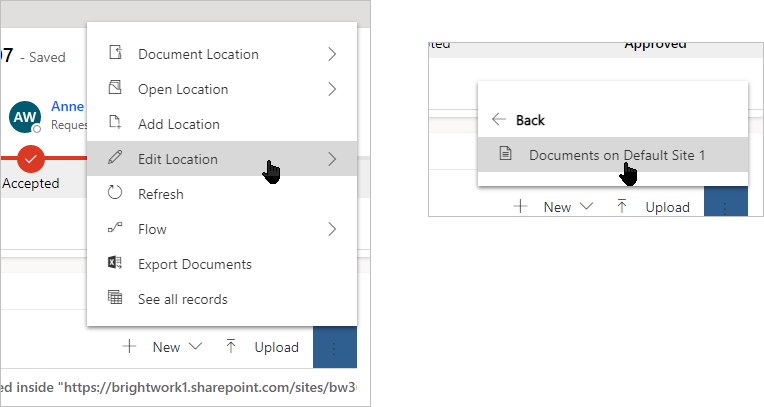
Click the three-dot menu on the Documents subgrid, expand Open Location and click the link to navigate to your SharePoint site.
Any document library with a count of more than 5000 will need to be remedied.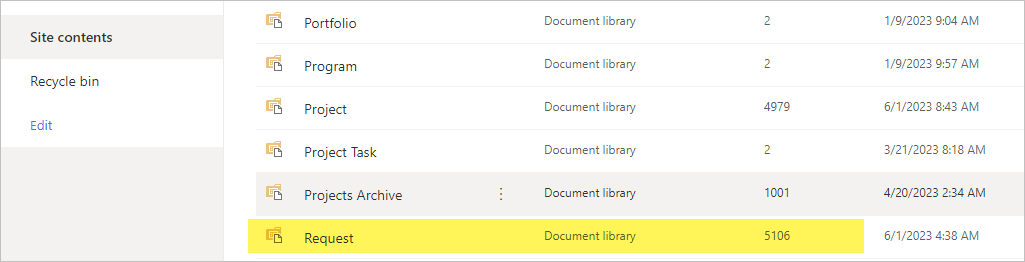


Create a new Document library for archiving the documents. You should create one per existing Document library that you need to work with. In this case, we will create a Document library called Request Archive.


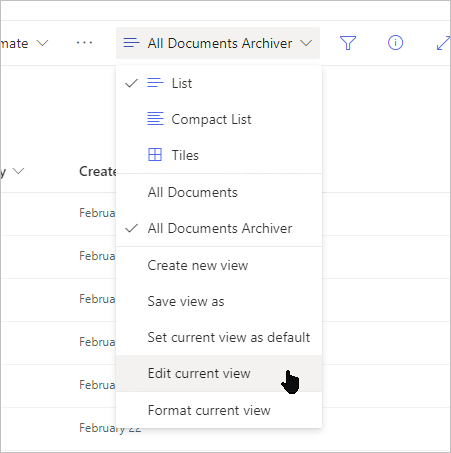
Navigate to the problem Document library and save the default view as a new view, e.g., All Documents Archiver.
Select Edit current view on the new view menu.

Add the Created column.
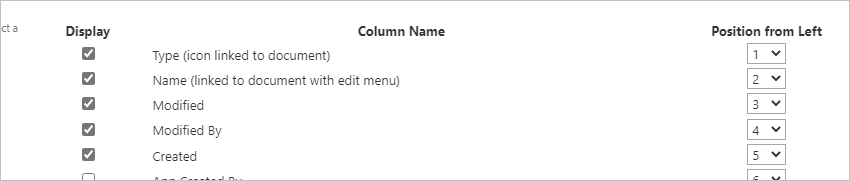

Set the Created column as the default sort column and set it so the items sort in ascending order – this will show the oldest items first.


Scroll down further, expand the item limit section, and enter 1000 in the field.


Click OK to save your changes to the view.


Move Documents to the Archive Library
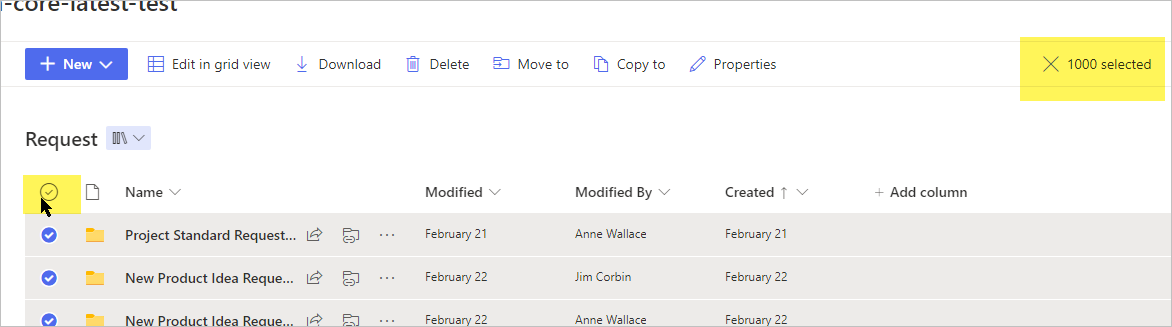
Navigate to the All Documents Archive view and click the selector at the top to select all the items in the view – it should say 1000 selected.

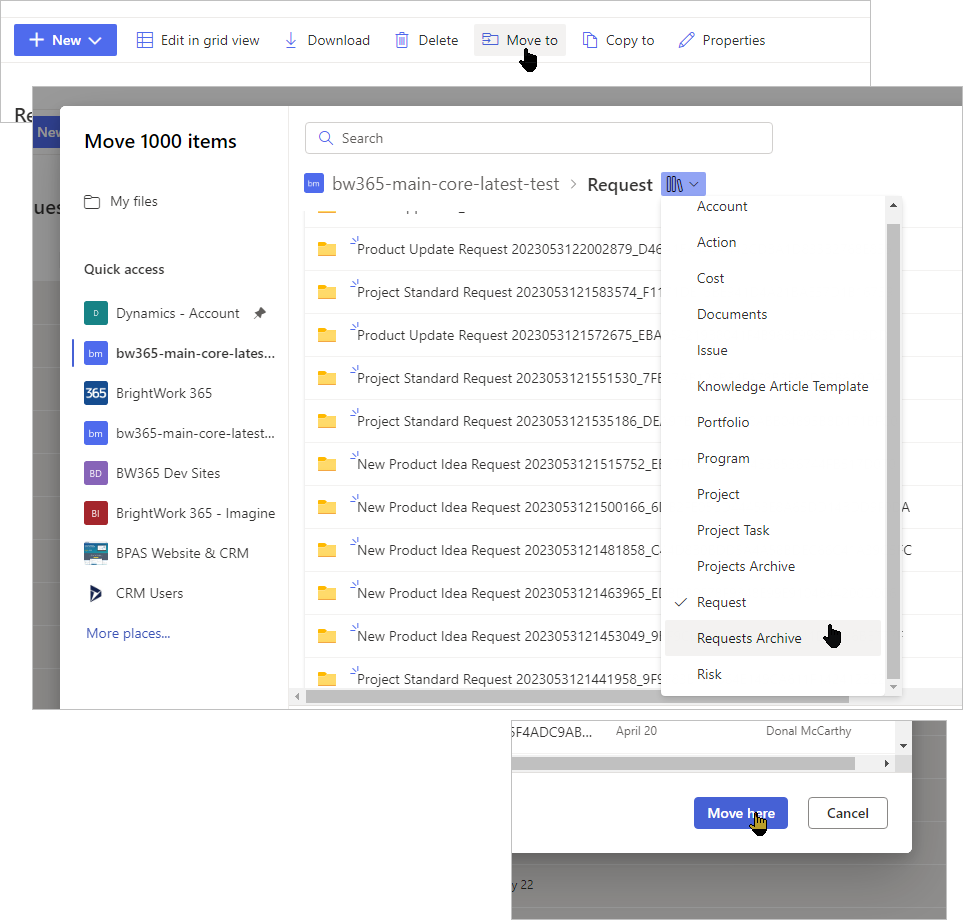
Click Move to, select the archive Document library, and click Move here.

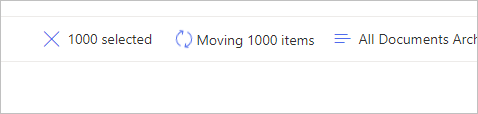
Wait until the move job completes.

Where are My Documents?
The above document archiving solution is a blunt one and may result in users inquiring about documents missing from their records.
When you move the document folder associated with a record from one Document library to another, a message like the below will display in affected records.

To fix this, you must create a new SharePoint Document Location record for the new Document library and switch the Document Location to it.
Create a New SharePoint Document Location
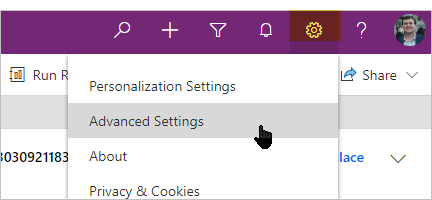
Click Advanced Settings on the Setting menu.

Expand the settings menu and click Document Management.
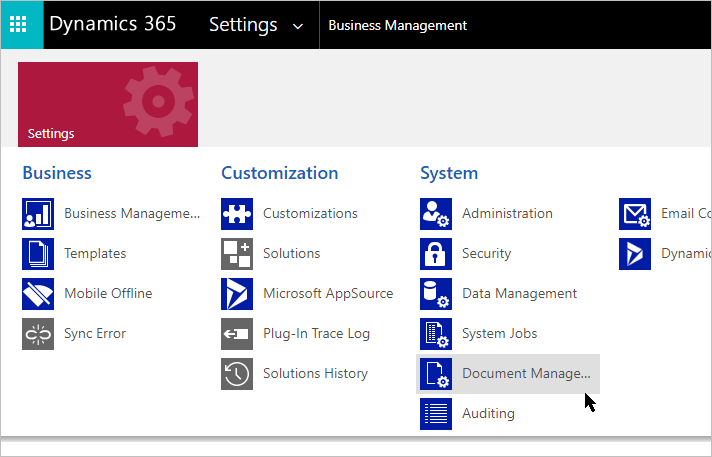

Click SharePoint Document Locations.


Click + New and fill out the form as below and click Save & Close.
The two most important items are the Parent Site or Location – ensure to select Default Site and the Relative URL.
The Relative URL is the part of the SharePoint Document Library URL that refers to the document library, in the example below it is Archive.
https://contoso.sharepoint.com/sites/contoso-proj/Archive/Forms/AllItems.aspx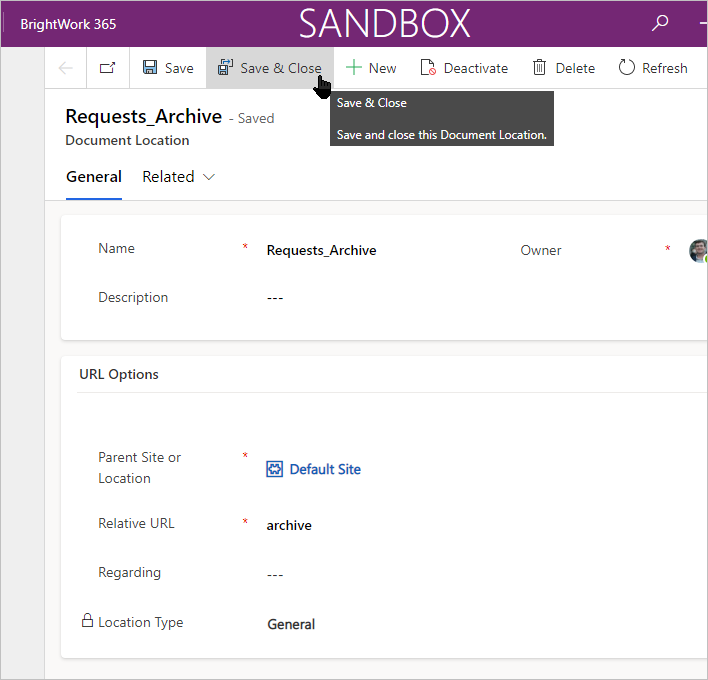

Switch Document Location
Once you have a Document Location setup for the new library, you can switch affected records as they turn up.
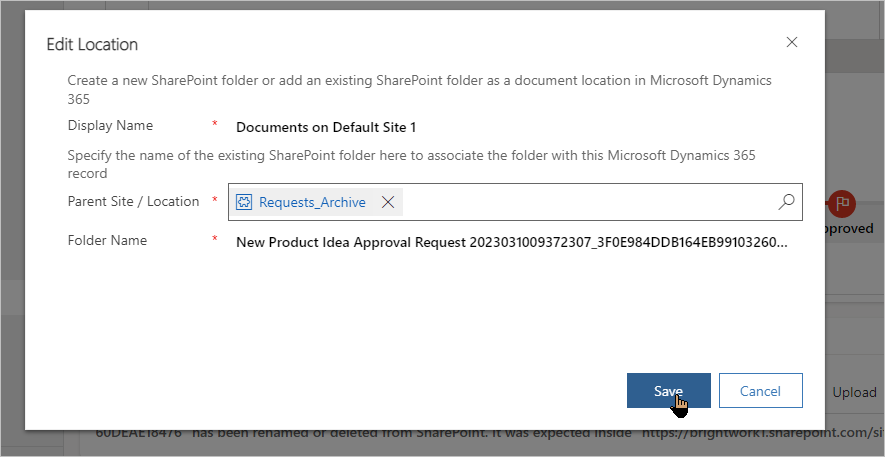
Click Edit Location on the three dot menu and click the Document location.

Select the new Document location, click Save and confirm that you want to switch.

The Documents subgrid will load correctly.
